Getting Started
Installation & Setup
Follow these steps to install and configure Pluro on your website:
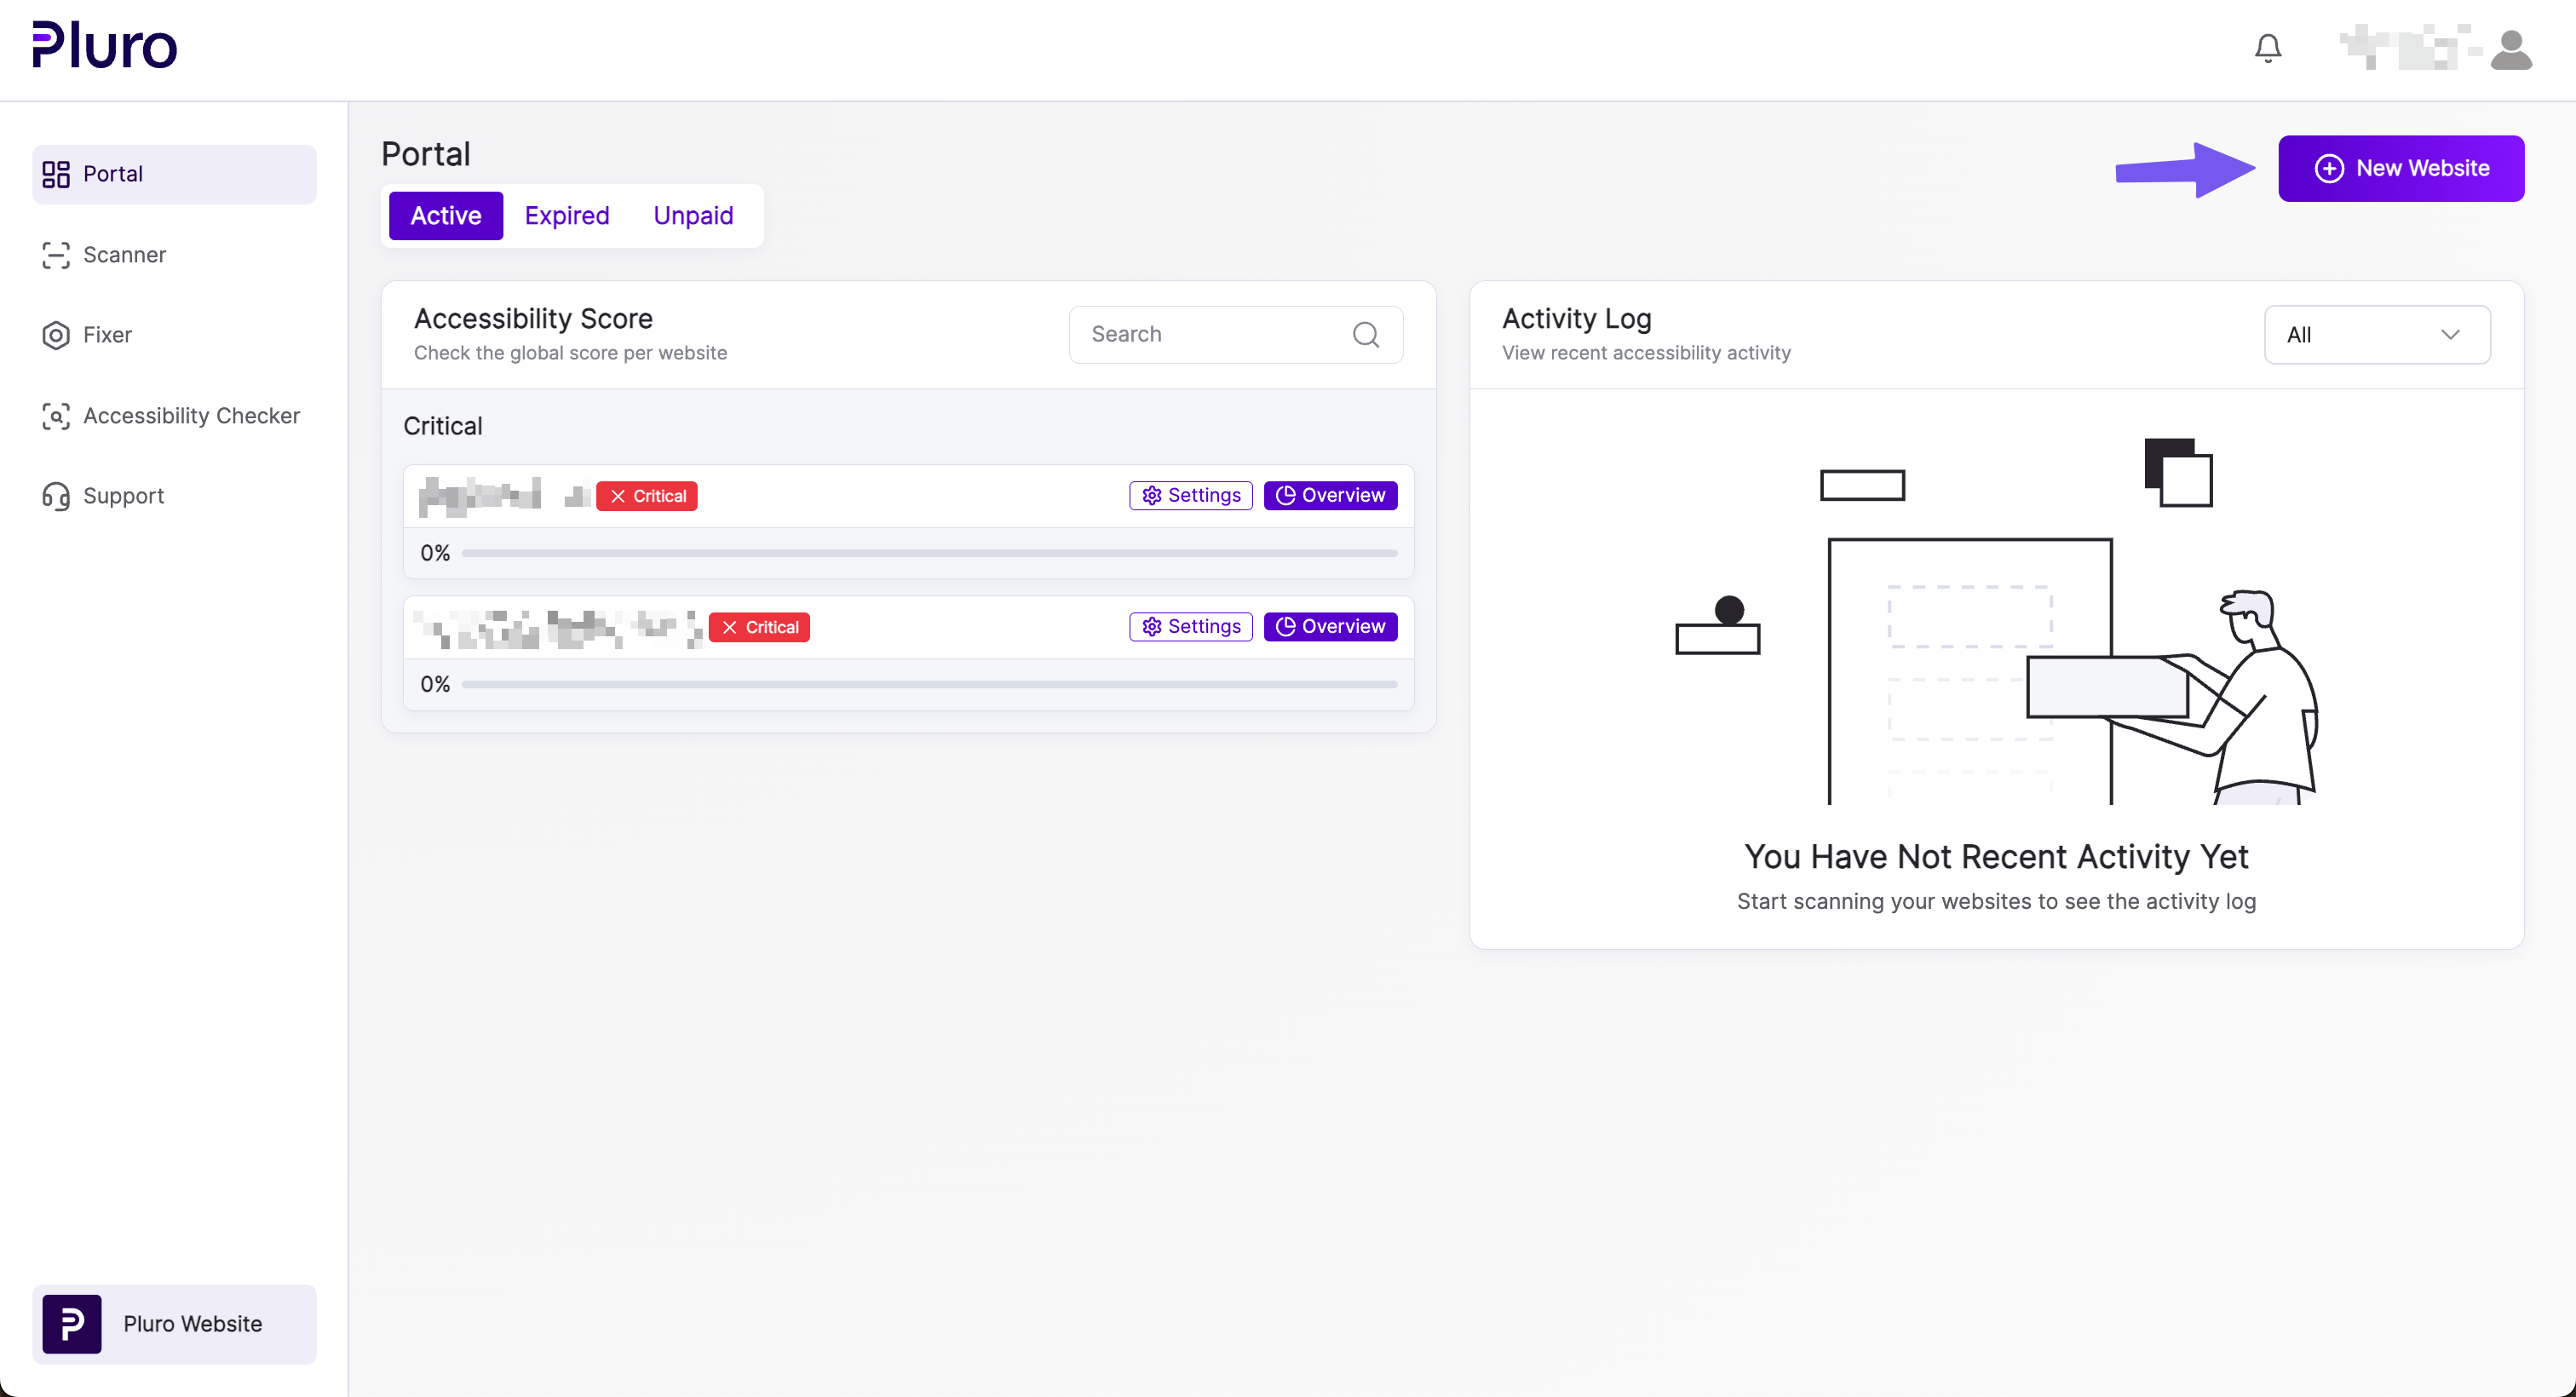
Step 1: Add a New Website
- Log into the Pluro portal using your credentials.
- On the dashboard, click the “New Website” button.
Step 2: Enter Website Details
- A pop-up window will appear.
- Fill in the required information about your website, such as the website URL and name.

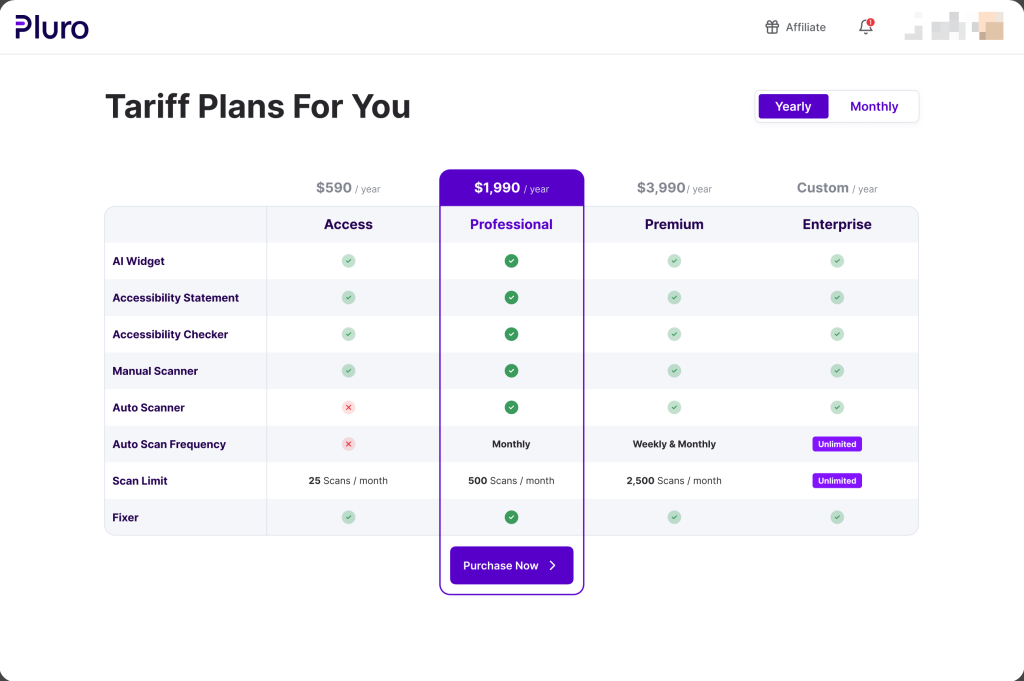
Step 3: Choose a Plan
- Once your website is added, you’ll be taken to the Plan Selection screen.
- Review the available plans and choose the one that best fits your needs.
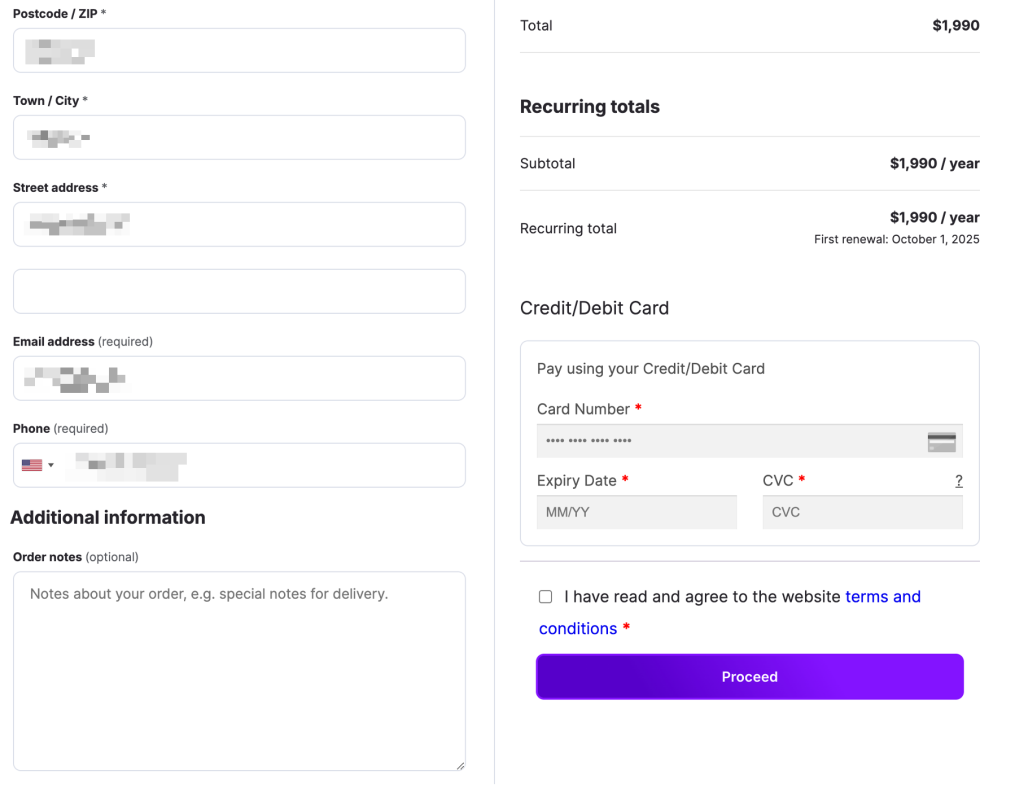
Step 4: Complete Checkout
- After selecting your plan, proceed to checkout by filling in your payment details.
- Click “Proceed” to confirm your order.
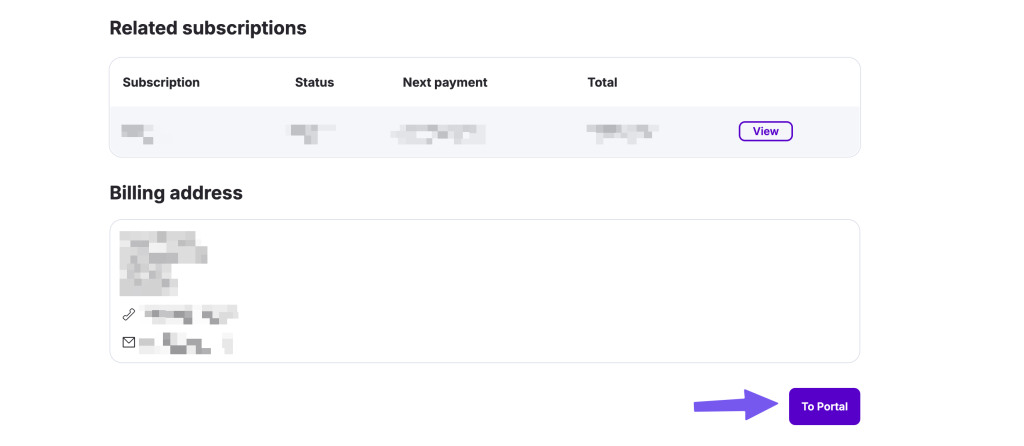
Step 5: Review Your Order
- After completing the checkout process, you will see a summary of your order.
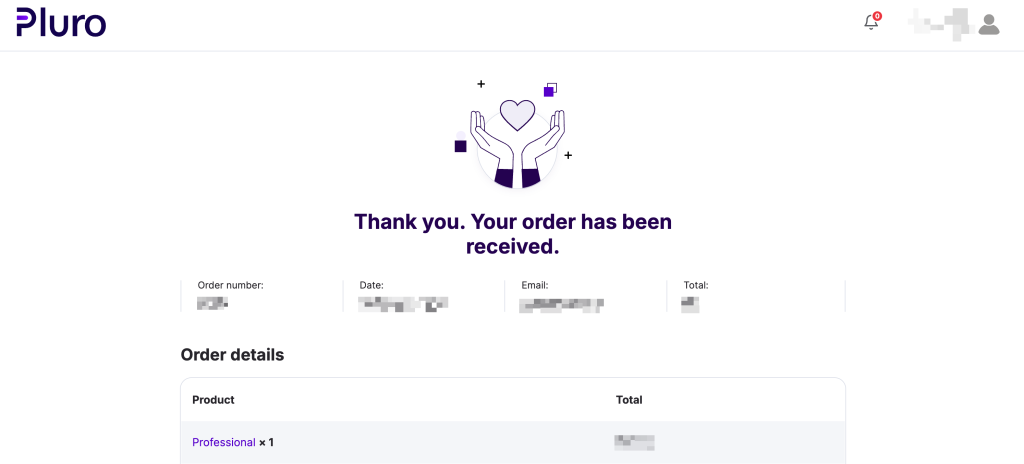
- You can click the button at the bottom of the page to return to the portal.
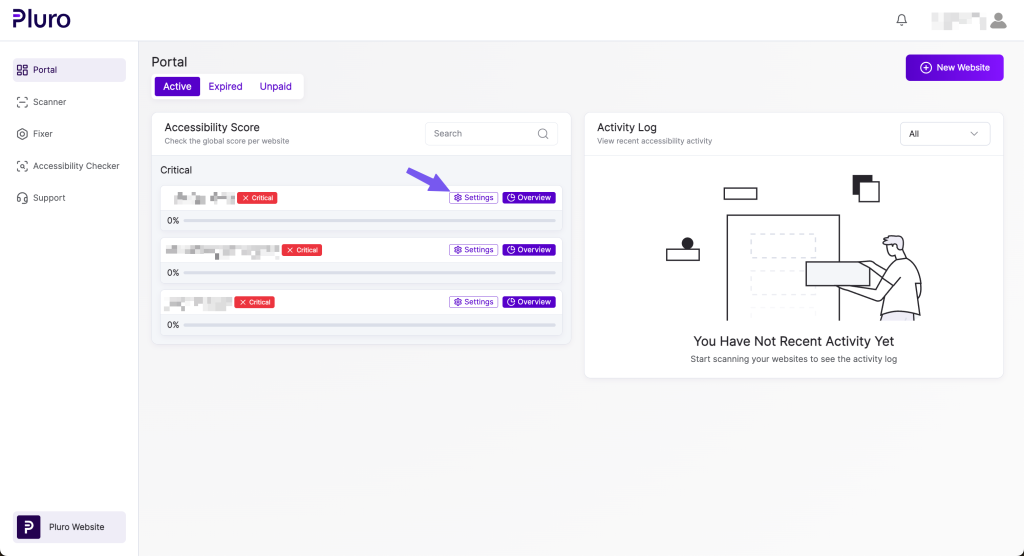
Step 6: Install the Accessibility Script
- Once the payment is completed, you can install the script on your website.
- In the portal, go to the Settings of the newly added website.
- Copy the accessibility script provided.
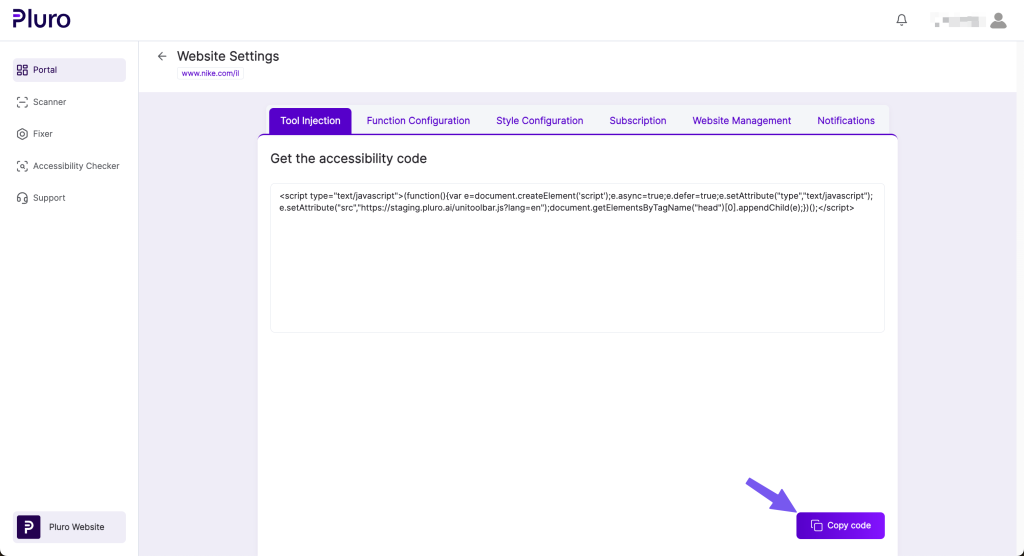
Step 7: Place the Script on Your Website
- Insert the script into the header section of your website or CMS.
- Once added, your website is ready for scanning and monitoring!
Basic Troubleshooting Steps
If you encounter any issues during installation, here are a few common solutions:
- Problem: The script doesn’t seem to work after adding it to the website.
- Solution: Double-check that the script has been placed correctly in the header section of the website or CMS.
- Problem: The new website doesn’t appear in the portal after adding it.
- Solution: Refresh the portal or log out and log back in to see if the new website appears. If it’s still not showing, contact support.
